When it comes to hatching eggs, whether you’re incubating chicken, duck, or any other type of eggs, proper storage is crucial for ensuring successful hatch rates. Eggs that are not stored correctly can suffer from a range of problems, from developmental issues to embryo death. To maximize your chances of successful incubation, here’s a step-by-step guide on how to store hatching eggs before setting them in your incubator.
CHOOSE FRESH, HEALTHY EGGS
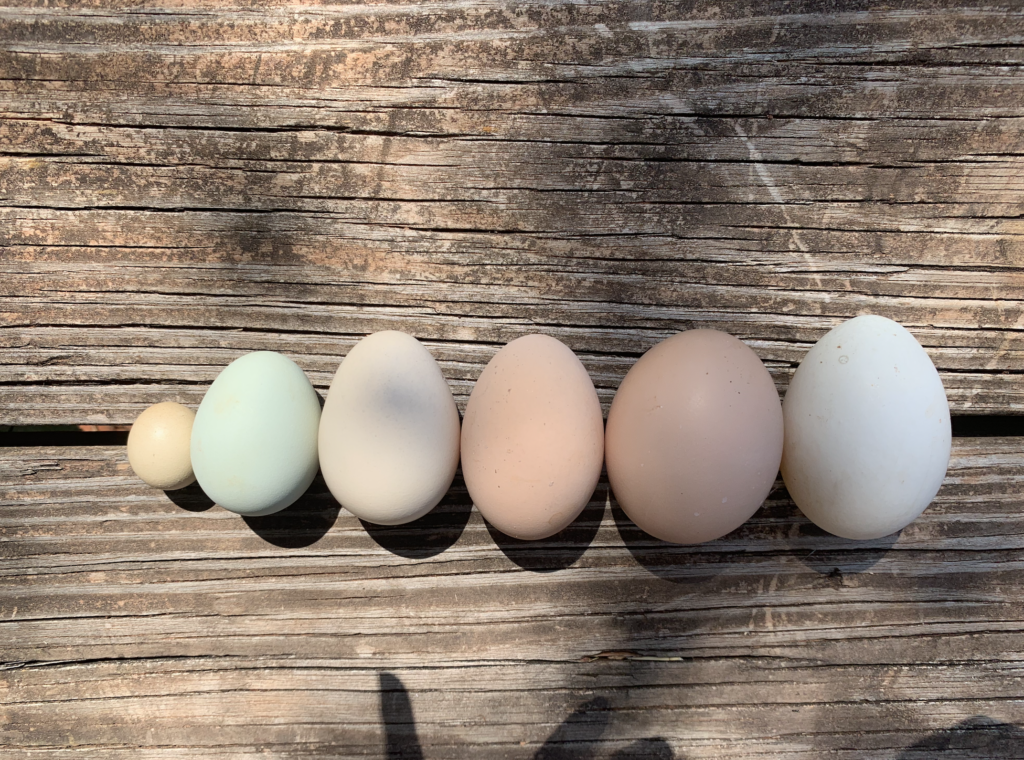
First and foremost, it’s important to choose eggs that are clean, fresh, and laid by healthy hens. Ideally, eggs should be collected within 7 days of being laid. Eggs older than this may have a reduced hatch rate, so the sooner you collect them, the better.
CHOOSE THE CLEANEST EGGS (DO NOT WASH HATCHING EGGS)
While it might be tempting to wash dirty eggs, it’s generally best not to. The eggshell is covered with a natural protective coating that helps keep bacteria out. Washing can remove this protective layer and increase the risk of contamination. If you really need to clean an egg, use a dry cloth or a soft brush to gently remove dirt.
STORE POINTED SIDE DOWN
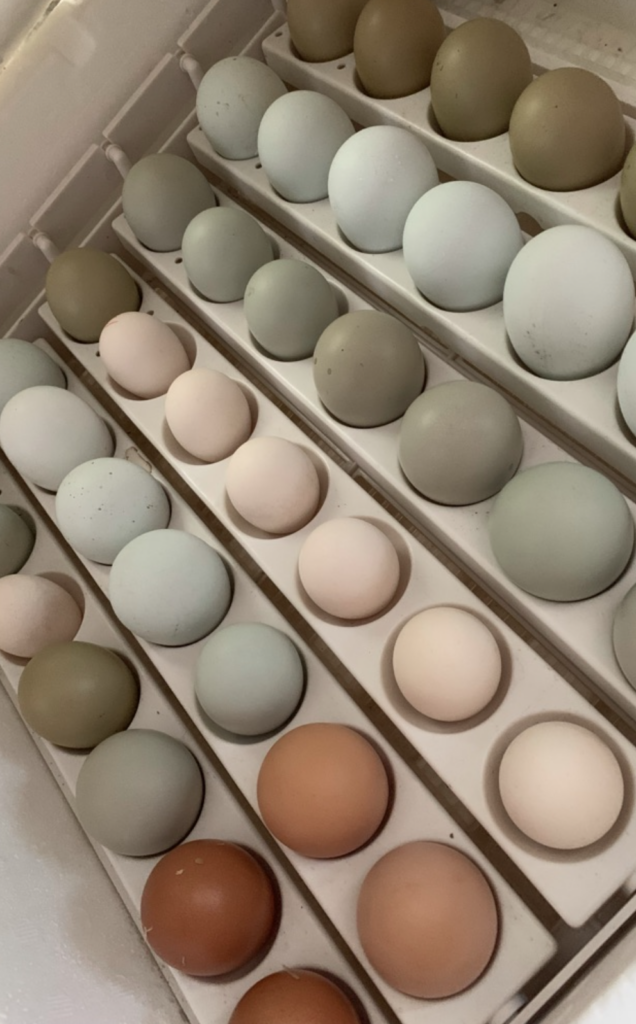
The pointy end of the egg should face downward during storage. (Very important!) This is the natural position in which eggs will be oriented inside the hen’s body, and it helps keep the air cell intact and at the correct size. When eggs are stored pointy-end down, the embryo remains in the proper position.
TEMPERATURE AND HUMIDITY
Eggs should be stored at a consistent temperature between 50°F and 65°F. Avoid temperatures that are too warm (over 70°F) because this can lead to the development of the embryo inside the egg before incubation begins.
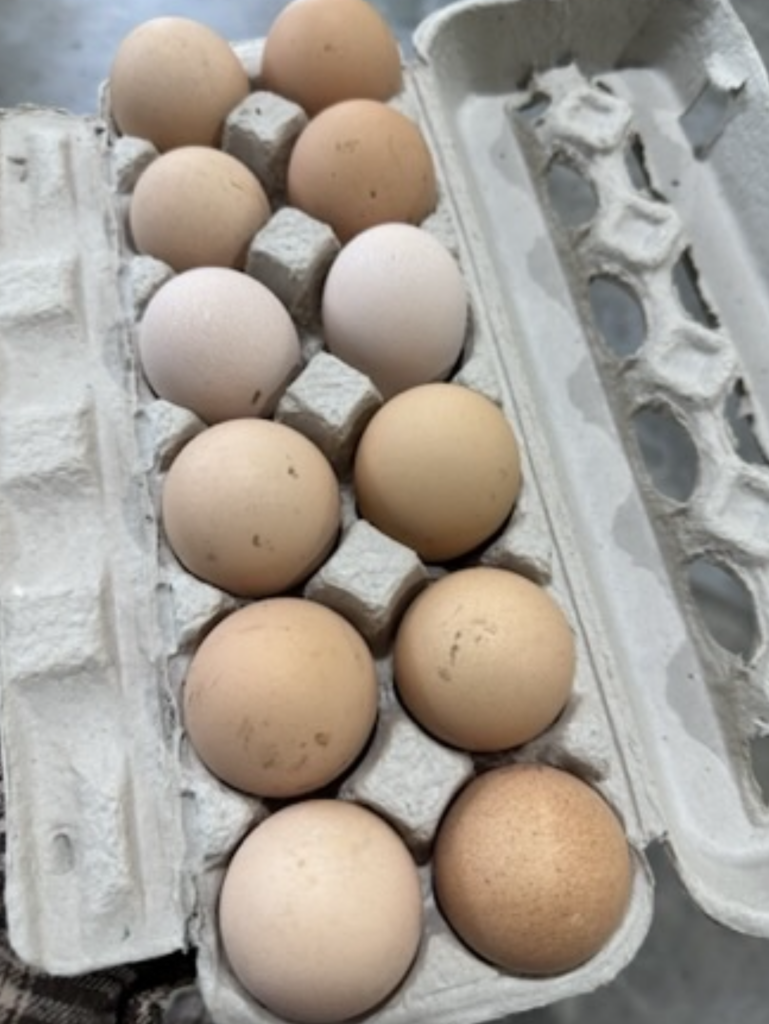
Eggs are best stored in a dry environment. High humidity can promote bacterial growth and affect the integrity of the eggshell, making it more difficult for the chick to hatch later on. If you are storing eggs for more than a few days, it can be beneficial to place them in a carton or egg tray to help maintain air circulation. This helps reduce the risk of moisture build-up.
TURN EGGS REGULARLY
It’s important to turn your eggs regularly during storage. Ideally, you should turn eggs at least once a day, rotating them 180 degrees to prevent the embryo from sticking to the eggshell. If you’re storing eggs in an egg carton, you can simply rotate the entire carton. Regular turning ensures that the yolk remains centered, and the embryo does not adhere to the shell.
DON’T STORE EGGS TOO LONG
While eggs can be stored for up to 7–10 days prior to incubation, it’s important to remember that the fresher the egg, the better the hatch rate. Eggs that are stored too long (more than 10 days) may not have a successful hatch due to the aging process, even if they are stored properly.
CANDLE PRIOR TO INCUBATION
If you’re not sure whether your eggs are viable, you can candle them before incubation. Candling is the process of shining a light through the eggs to check for the presence of a developing embryo. It’s not essential to candle before incubation, but it can give you an early indication of whether the eggs have a good chance of hatching.
Proper storage of hatching eggs is a key step to ensuring a successful hatch. By handling your eggs carefully, maintaining the right temperature and humidity, and turning them regularly, you’ll give your chicks the best possible start. Remember, the fresher the eggs and the better you care for them prior to incubation, the more likely you are to enjoy a healthy, vibrant hatch in the days to come.
Quick Recap:
- Collect fresh, clean eggs within 7 days.
- Store pointy end down to keep the air cell intact.
- Keep eggs at 50°F to 65°F
- Turn eggs daily (rotate 180 degrees).
- Store in a dry, well-ventilated environment.
- Avoid storing eggs longer than 7–10 days.
- Candle eggs to check for viability.
Following these simple steps can significantly improve your chances of a successful hatch.

COMMENTS